How to dye easter eggs with food coloring 🎨
Hey there, egg-cellent artists and crafty creators! Are you ready to hop into the vibrant world of Easter egg decorating? Forget about the egg-straordinary mess of fancy dye kits because we’re about to crack open the secrets to dyeing Easter eggs using something you already have in your kitchen - food coloring! Yes, it’s time to dye laughing!
Step 1: Gather Your Egg-citing Materials!
Before we embark on our color-filled adventure, let's make sure we have everything on our checklist:
- White eggs (as many as you dare to dye!)
- Food coloring (the more colors, the merrier!)
- Vinegar (this isn’t just for your fish and chips!)
- Warm water (not for sipping, though!)
- Bowls or cups (one for each color)
- Whisks (for a bit of kitchen instrument fun)
- Rubber gloves (unless you want rainbow hands)
- Paper towels or a cooling rack (for the drying show)
Step 2: Boil the Bunch!
Carefully place your eggs in a single layer in a pot and cover them with water. Bring it to a boil, then let them simmer for about 9 to 12 minutes. You want them hard-boiled, not hard to deal with. Remove them from the heat, drain the hot water, and give them a cold bath. Why? Because nobody likes to handle hot eggs!
Step 3: Vinegar Prep Talk!
While your eggs are chillin’, mix a teaspoon of vinegar into each cup of warm water. Vinegar is the magic potion that helps the color stick. Without it, your dye might just swim away!
Step 4: Color Me Egg-cited!
Add about 20 drops of food coloring to each cup. Go wild with the colors! Want a teal that makes the Easter Bunny wink or a pink that would make a flamingo blush? Mix and match those colors. You’re the egg artist, after all!
Step 5: Egg Dipping Time!
Now, grab those eggs with a whisk, plop them into the cups, and let them soak. The longer they sit, the deeper the color. Use this waiting time to perfect your egg puns or practice your bunny hop!
Step 6: The Great Egg-sit!
Once your eggs have soaked up all the color they can, gently lift them out with your whisk. Place them on a paper towel or cooling rack. Pro Tip: Use the whisk as a little egg-cage to avoid color-finger catastrophes.
Step 7: Egg-stravaganza Display!
Once dry, it’s time to show off your eggs-traordinary work! Arrange them in a basket, line them up for an Easter parade on your mantel, or hide them for the ultimate egg hunt. Your vibrant creations are sure to be the center of attention.
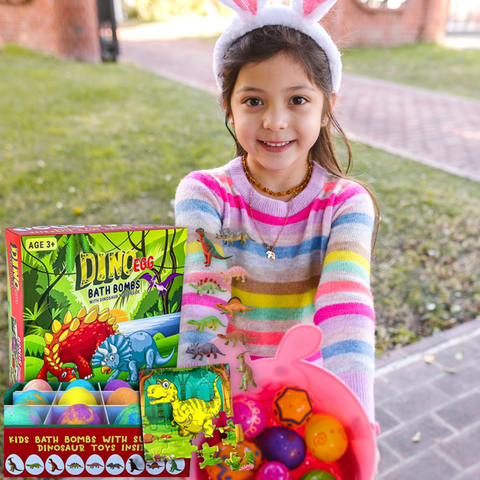
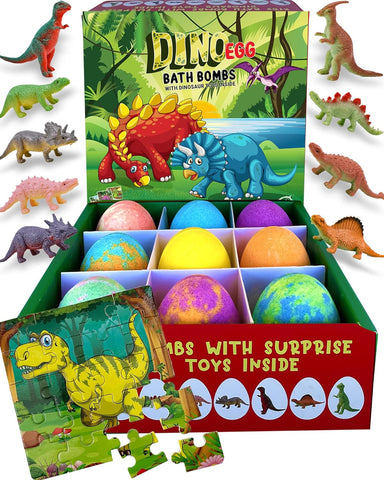
If you’re all about the fun without the fuss this Easter, we’ve got a spectacular shortcut that’ll make you the hero of the holiday—Mineral Me Dino Egg Bath Bombs! These are not just pre-colored Easter eggs; they’re a vibrant bath time adventure with a delightful dinosaur surprise toy nestled inside. And it gets even better; each set comes with its own dinosaur jigsaw puzzle, turning your Easter into a thrilling 3-in-1 extravaganza. Perfect for busy bunnies seeking a splash of color and a dash of play without dipping a single toe into the dye! 🎨
Click here to buy Mineral Me Dinosaur Bath Bombs (Pack of 9)


